
Roof Buddy – Metal Fascia System
Upgrade Your Roof in One Simple Step
Roof Buddy – Metal Fascia System
Upgrade Your Roof in One Simple Step
Installation Guide
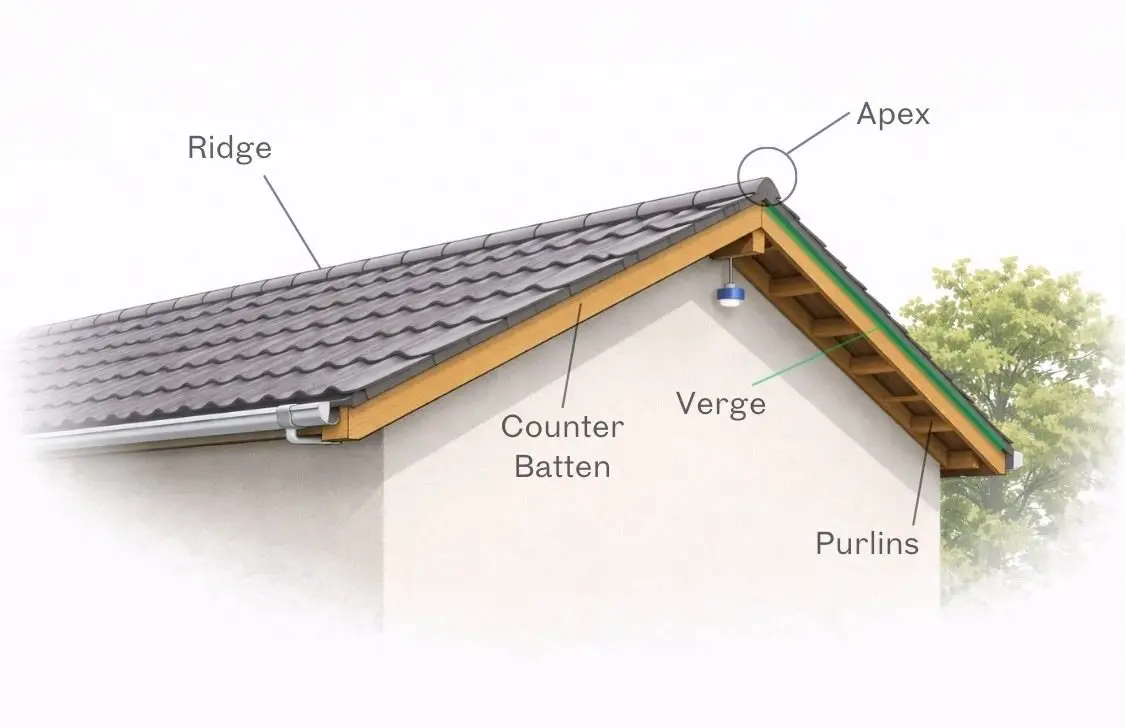
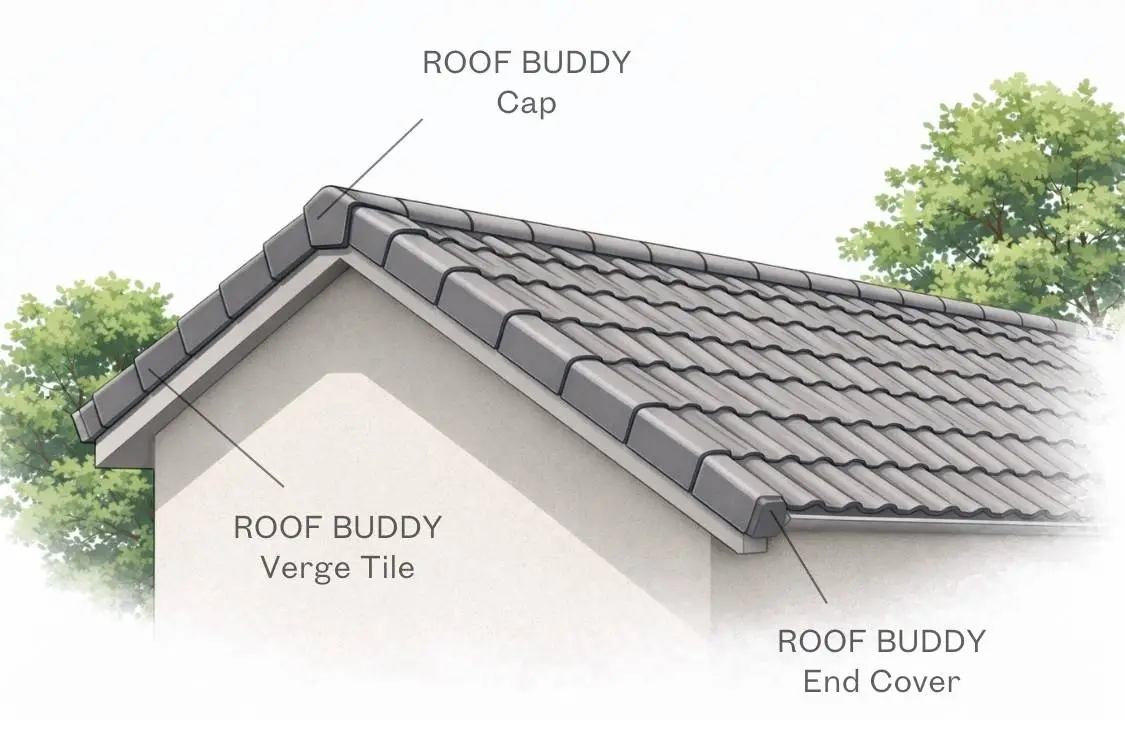

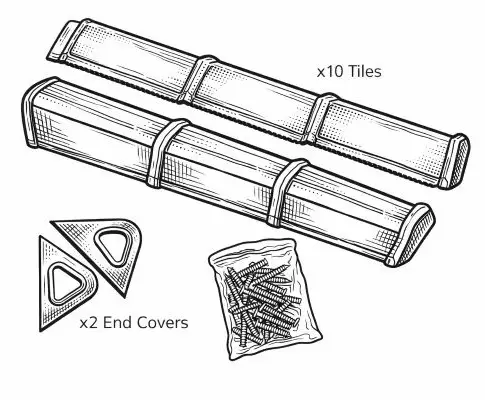
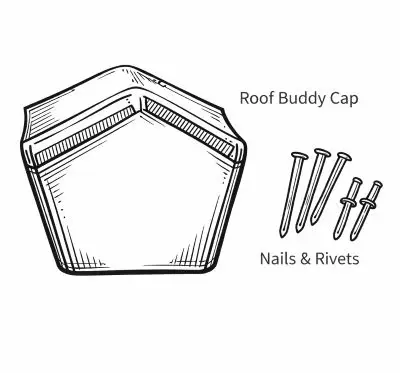

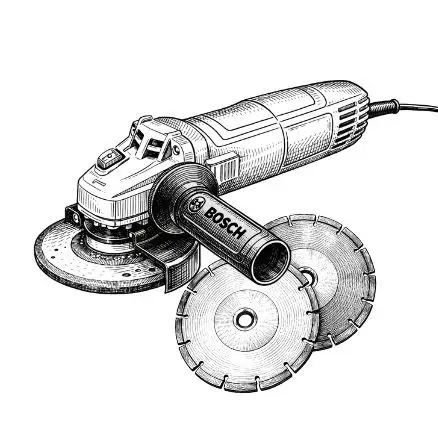
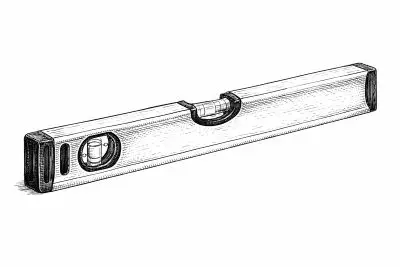
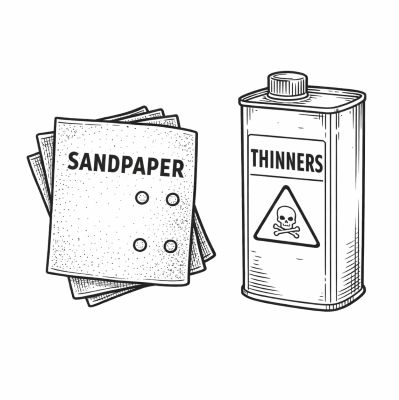
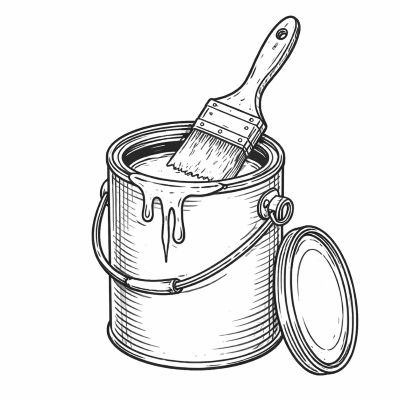

Fig. 1a
Remove the old fascia boards or verge tiles. The roof tiles and wooden framework should be inspected for damage.
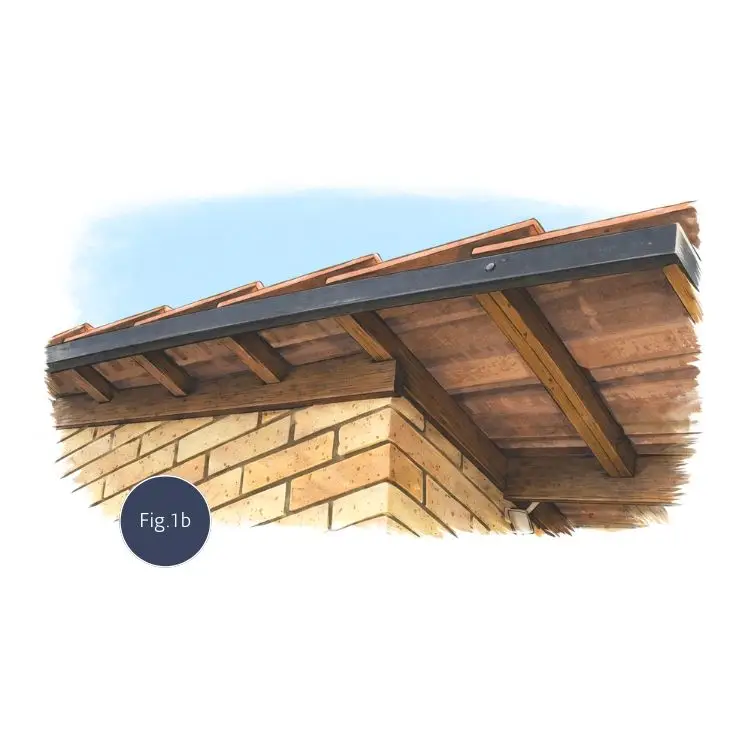
Fig. 1b
Damaged roof tiles and roof purlins (load bearing beams which hold the roof tiles) should be repaired or replaced. Gable counter battens should be replaced where needed. All new and untreated woodwork should be coated with a wood preservative.
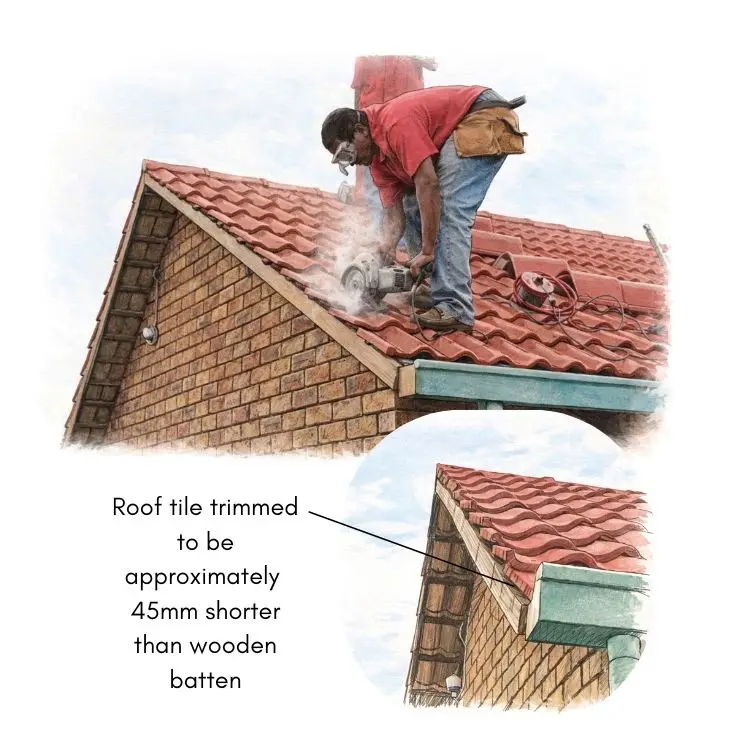
Fig. 1c
The face of the counter batten should be approximately 45mm from the edge of the roof tile. The distance may vary depending on the tile profile. The ultimate objective is to space the counter batten so that the outer face of the Roof Buddy tile lies vertically once fitted.
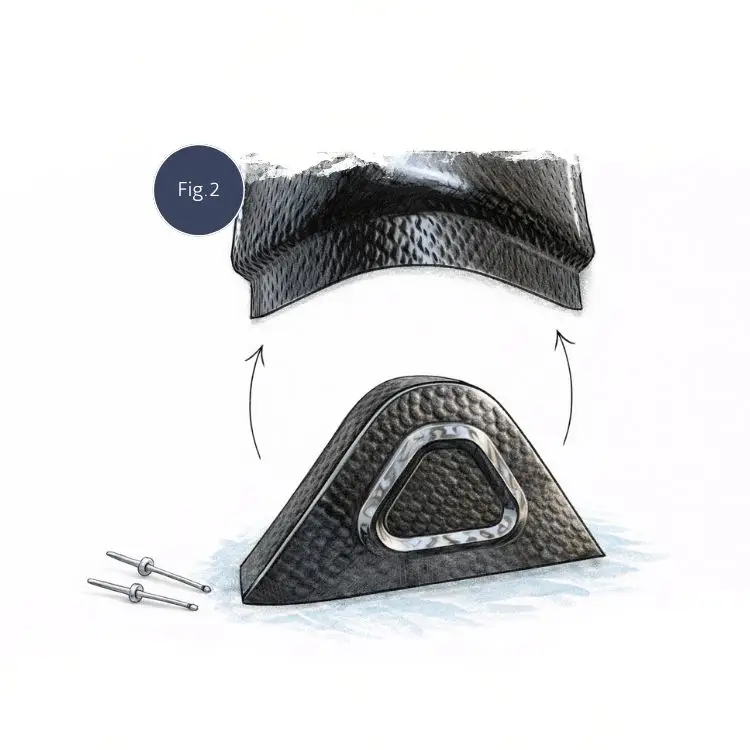
Fig. 2
The tile needs to be fitted with an end cover. Secure with rivets. We suggest this is undertaken before tiles are fitted on the roof.
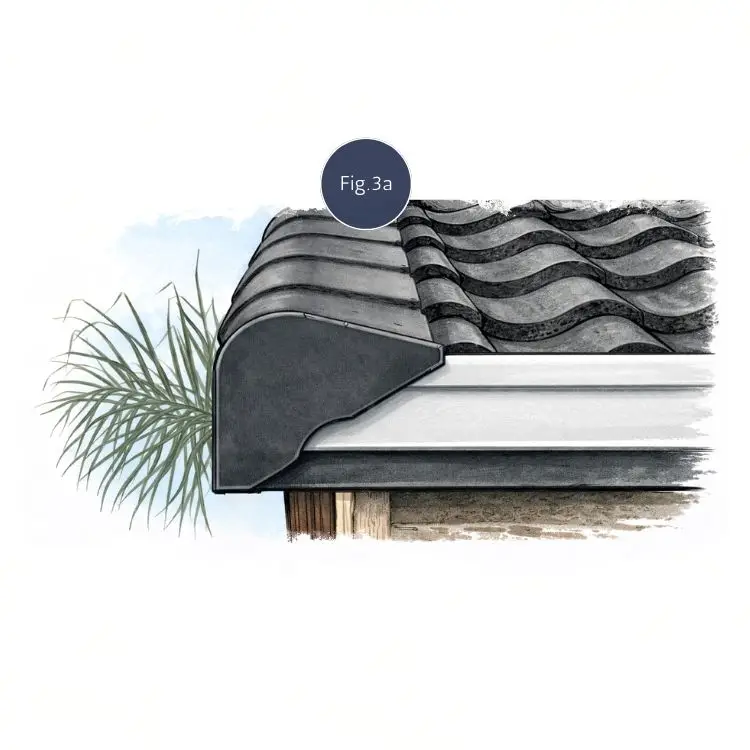
Fig. 3a
Start by laying the first tile over the gutter end.
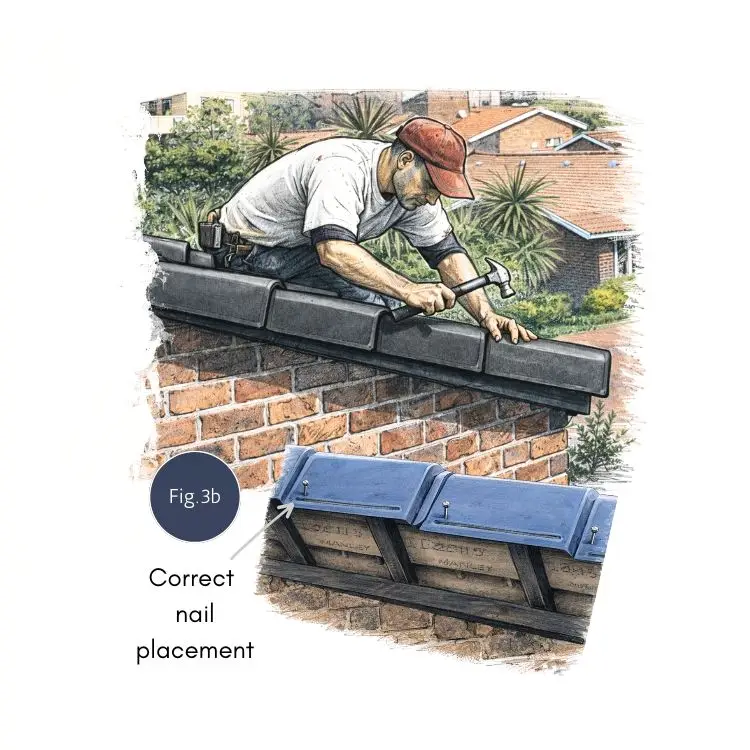
Fig. 3b
Align and nail onto the counter batten. Continue laying the tiles until reaching the roof apex or knock.
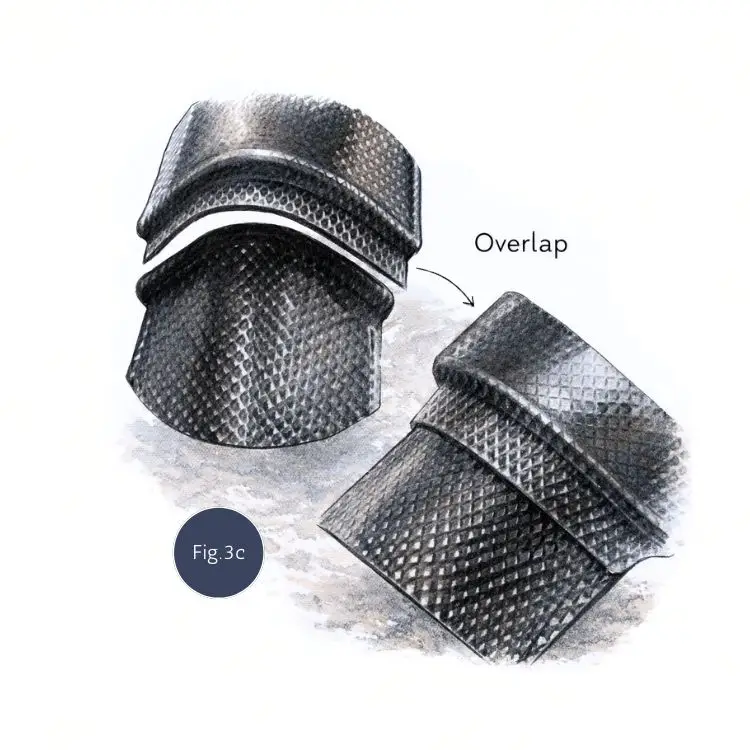
Fig. 3c
Ensure tiles are overlapped correctly. Use rivets to secure metal tiles together.
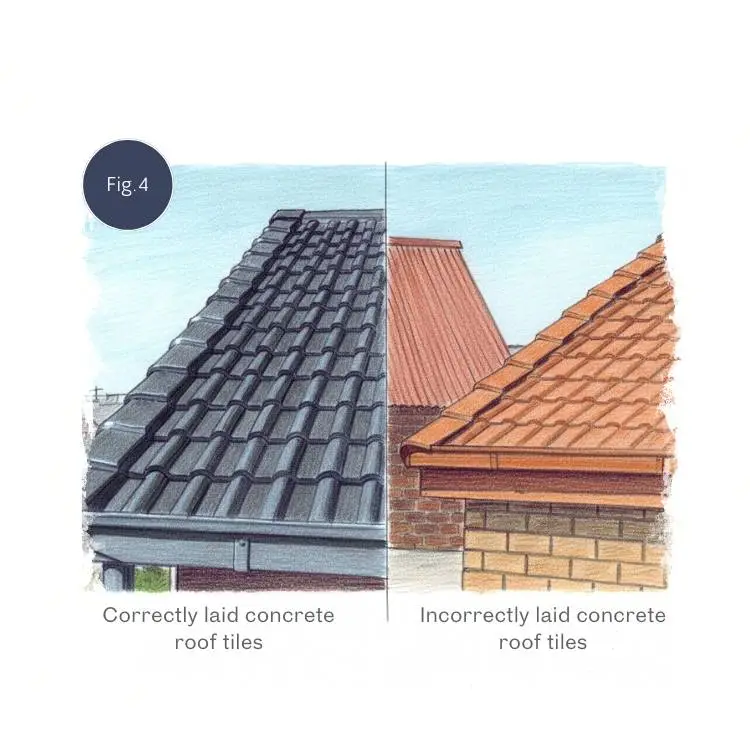
Fig. 4
Our tiles are designed to fit roofs where the purlins are set at 320mm batten centres. However, they will still ride over incorrectly laid roof tiles.
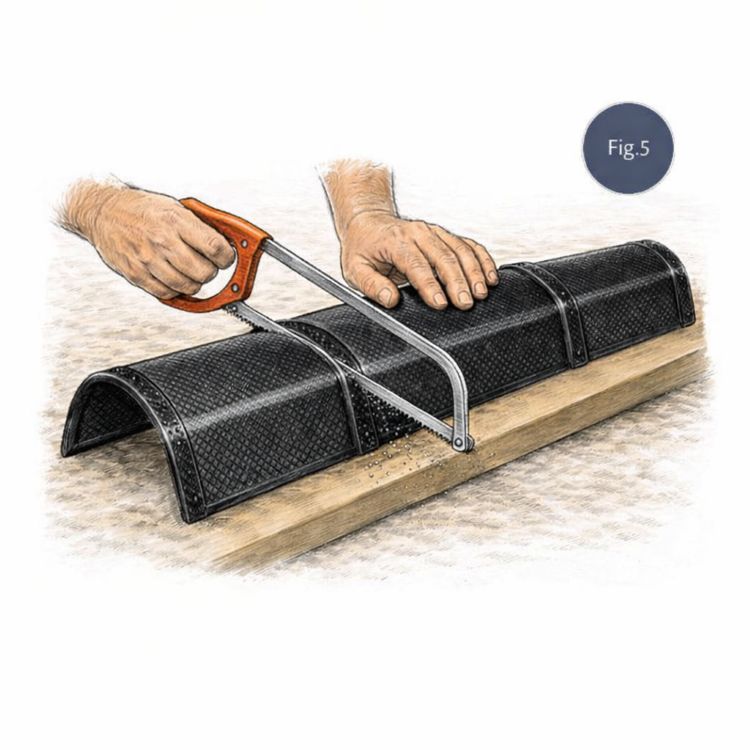
Fig. 5
Tiles will need to be mitered at the roof apex or knock (top).
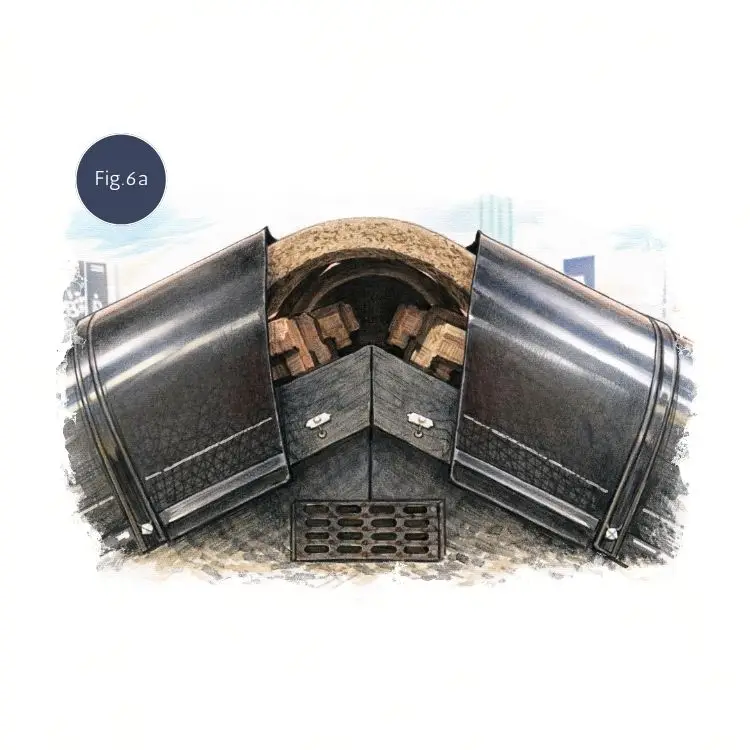
Fig. 6a
Before fitting the Roof Buddy Cap, make reference marks on the tiles indicating the position of the counter batten (nailing points).
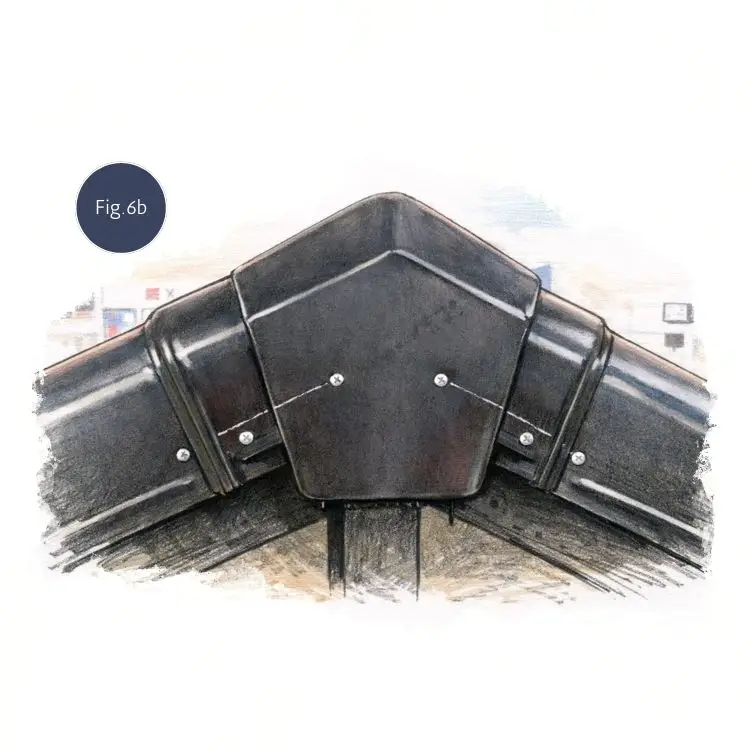
Fig. 6b
Extend markings onto cap and nail cap into place. Bend outer flanges of cap to match roof pitch angle.
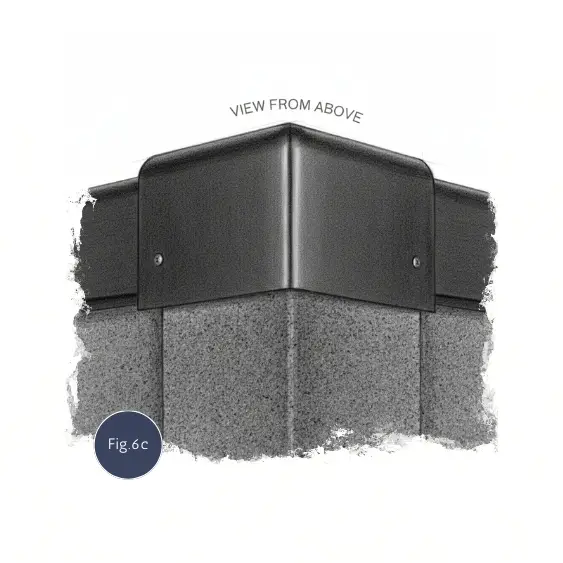
Fig. 6c
Once the system is in place and nailed into position, the tile joints and the cap flanges can be riveted.

Fig. 7
We recommend that our E-Coated system is lightly sanded and wiped clean using Methylated spirit or thinners.
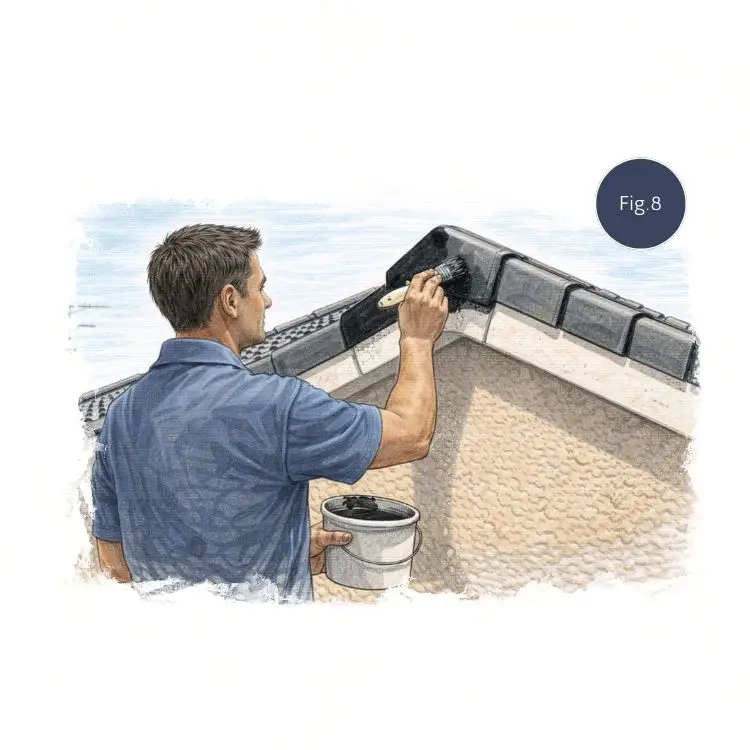
Fig. 8
Apply two coats of a roof Acrylic PVA roof paint in a matt finish or an Enamel exterior paint. Follow the manufacturer’s instruction and allow ample time to dry between coats.
* This is a very important step, since our tiles are not UV resistant.